By Mark Ambert Contributing Writer
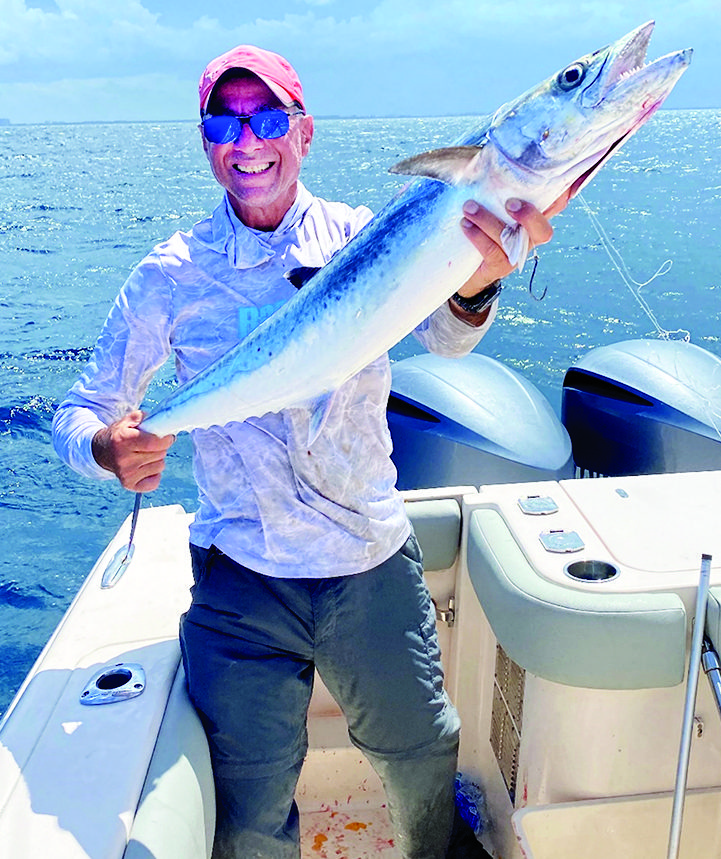
One of the most rewarding ways to prepare and cook your fresh catch is in a smoker! Oily fish make especially good candidates for smoking and are often overlooked as table fair. Some of the dyer fish like amberjack also make excellent choices and can be mixed with the oiler fish for an excellent fish dip spread, please refer to last month’s article for proper care and cleaning prior to smoking. Now let’s begin!
The Smoking Process
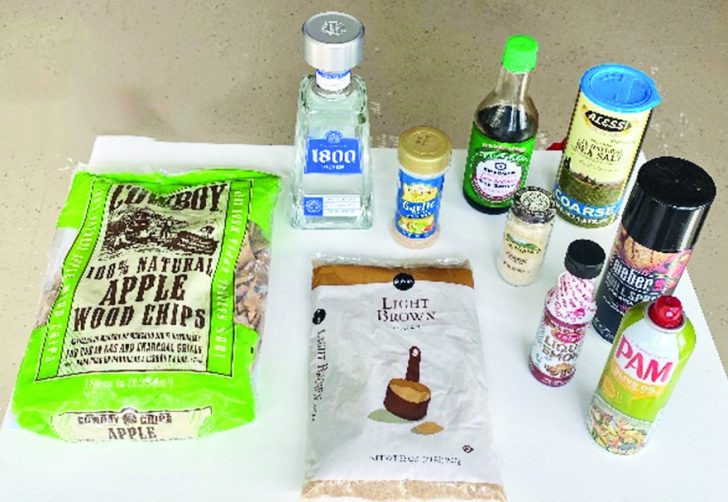
Brining fish – First we begin with brining to cure and prepare fish for smoking. I like to use one gallon of fresh sea water or tap water mixed with the following:
• 6oz of sea or Kosher salt (lg grain)
• 2 cups of dark brown cane sugar
• 2 tablespoons Onion powder
• 1 tablespoon garlic powder
• 3 – 4 tablespoons soy sauce
• 5-pound bag ice
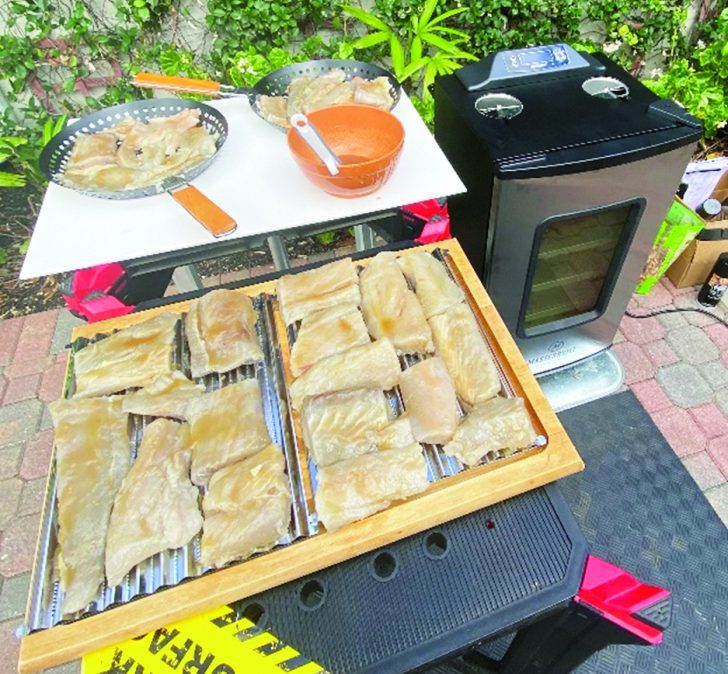
Make sure all fish chunks and filets are submerged and covered in brine. I use a small Igloo (24 can) 17 QT cooler with tall sides. I leave them to marinate for a minimum six hours and usually overnight. Once done, lay them on large serving plates layered in paper towels and placed in the refrigerator to dry and get tacky to the touch. This will take around two hours. Longer is ok. You can prepare the glaze and smoker for use while the fish are drying.
Glazing – This is the ingredient that really brings smoked fish to the next level – the glaze! I like to use Tequila 1800 Silver as the secret ingredient of choice that fuses everything together. In a medium size bowl, add the following:
• 2 cups dark brown sugar
• 4 tablespoons honey
• 3 tablespoons melted butter (1min microwave)
Now slowly add ¼ cup of Tequila stirred in slowly and only until the ingredients are a thick creamy paste. Too thin and it will run off the fish instead of sticking like a thick paste. This paste will melt and adhere to the fish as it slowly cooks in the smoker so make sure it’s thick! I then heat the ingredients in the microwave for approximately one minute to get things to blend into a glaze. If it’s too thin just refrigerate for a few minutes before applying to the fish.
The above ingredients will be enough to glaze four racks in a medium sized smoker like the one pictured here. You should have enough glaze left over to apply a second coat one hour in and a third light glaze 20 minutes before removing the fish from the smoker.
Smoking – I prefer an electric smoker for fish as they have a more controllable even burn. Prepare your smoker by coating the racks with an aerosol non-stick spray oil such as Pam and preheating to 225 degrees. Cooking time is dependent on the amount of fish and the efficiency of your smoker. If you have all racks full, I suggest 225 for a starting temperature and two hours cooking time. At that setting, actual operating temperature will be approximately 180 – 190 degrees. Based on four full racks and after pre-heating to the desired temperature, total smoking time is approximately 1.5 to 2 hours. You can lower the temperature if needed after the first full hour of smoking. I like an internal temp of 140 degrees for fish so if you have a thermometer, you can use it to gauge when the fish is done. Insert it into the largest piece and remove the fish when internal temperature reached 140 degrees. The fish should be moist and ready to flake apart when touched with a fork. I like mine a little on the dryer side, but this is a personal preference.
For wood chip choices I prefer fruit trees for fish with apple being my favorite. Hickory and mesquite seem too heavy a flavor for fish but again – your preference. An alternate would be cherry. Make sure to buy bags that contain a wood chip size that will fit your smoker wood chip tray. I use a drip pan with no water inside the smoker to collect moister. NEVER wet or soak wood chips when smoking fish. I prefer a dry smoke for flavoring fish.
I place all my fish in an oiled food basket or on a tray before placing in the smoker. The fish is glazed on the top only. As the glaze heats and melts, it will run down the sides and coat the bottom of the fish. If you glaze both sides of the fish, the bottom tends to thicken and burn as the glaze melts. I like a rubber bristle glazing brush to apply. Place the trays with the thickest pieces closest to the heating elements.
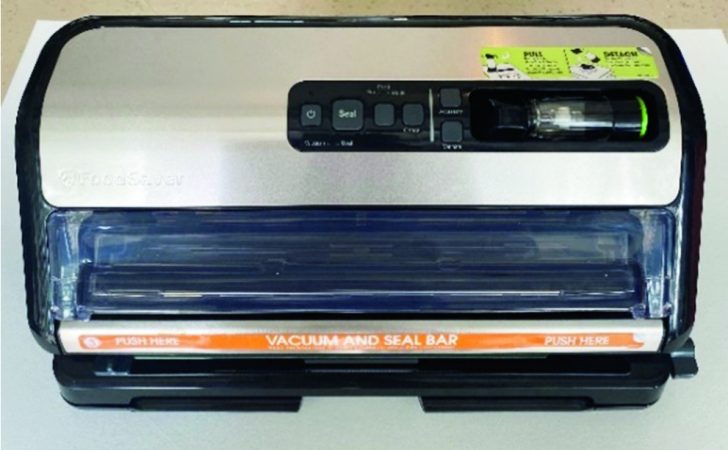
Monitor your progress every half an hour. My smoker has a window for viewing and a way to insert extra wood chips without opening the door. This keeps the temperature even inside and I only need to open the door to add the glaze. I add wood chips every half hour, but this is a preference. You can add them less frequently to control the strength of the smoky flavor. Once complete, remove the trays and allow the fish to cool for several hours at room temperature before final processing. At this point, it can be refrigerated for eating, freezer bagged for storage, or prepped for making dip (see the recipe included in last month’s article).
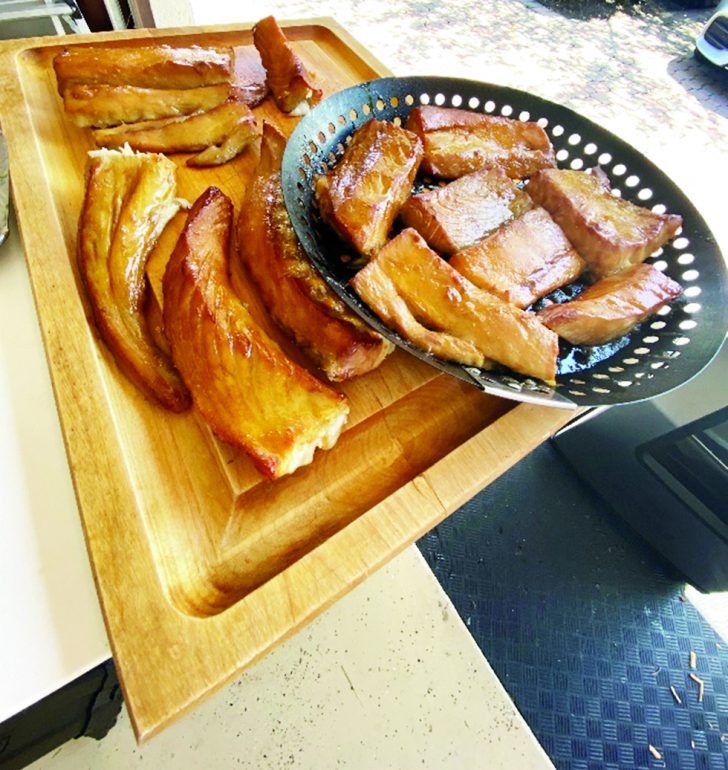
Cleanup – One final note on properly maintaining your smoker. I clean mine after every smoke. Not just the grills and removable parts. I clean the inside with a BBQ grill cleaner and organic degreaser. I apply the grill cleaner while the smoker is still hot, close the door an let sit while cleaning the shelves. I flush mine out with a freshwater hose and allow it to dry before storing. Leave the smoke vents open for air circulation, cover, and store. There is nothing worse than the aftertaste of a dirty grill or smoker!
Now once you’re ready, sit back and enjoy your efforts. Serve your smoked fish with cream cheese, chives, capers, and your choice of cracker – enjoy! Smoked fish makes great gifts and has created an entire food swapping network for me with select family and friends. No one will believe how you’ve transformed these often-overlooked fish into a fine culinary creation!
Mark Ambert – Author – Avid outdoorsman,
sportswriter & photographer
Follow me on Instagram @marksgonefishing or contact me at marksgonefishing25@gmail.com for collaboration.
