The pheasant tail nymph has been a mainstay in the fly-angler’s arsenal for decades and is said to been developed by Frank Sawyer in 1958 for targeting trout and grayling. It is a deadly effective pattern in many different variants. This fact is what brings us to my own take on this great little fly.
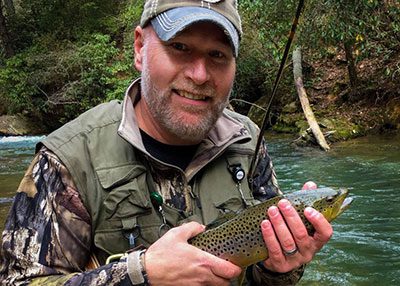
I’ve been tying my own flies for the relatively short time of about three years or so. Naturally, as I am a DIY guy, the idea of creating things and my love of trout-fishing led me to try and come up with some ideas for the fish here in upstate South Carolina. Keep in mind that, here, we fish the majority of the time for trout stocked by our Department of Natural Resources, as some streams are unable to sustain trout year-round due to warm water temperatures. This lends itself well to anglers who would target these fish with baits and even flies that mimic eggs or trout nuggets. Although very effective at times, these things don’t particularly appeal to me, probably due to my enjoyment of the challenge of presenting them with a more natural food.
My typical rig is mostly a two-fly setup with my first, or upper, fly usually consisting of a bugger or rubberlegs of some variation with 14-18” of tippet with a nymph dropper. Water clarity has a direct effect on what colors I choose but I always keep a good variety of them handy so as to adapt to whatever conditions are thrown at me. This brings us to the latest version of the pheasant tail that has proven very effective for me this year!
Unlike most classic pheasant tails, my current one doesn’t use any peacock herl or a pheasant tail wing case. I start by choosing a good nymph hook in size 16 or 18. I place a bead, usually tungsten, in a bright color such as bare tungsten, purple or even fluorescent pink behind the eye. I then wrap a layer of thread as a base down to the bend of the hook. I take a few fibers of pheasant tail feather and wrap a hook-length tail at the bend. Copper or gold wire is then wrapped in just in front of where the tail ends to be used to segment the rear of the fly. I then take a few fibers of crystal flash or like material and wrap it in the center section to be used as a the wing case. Next I use dubbing to create the body (instead of herl) and wrap it in front of the flash fairly thick to just behind the bead. After this fold the flash over the body forward and wrap to tie it off behind the bead to form the wing case. To finish this fly I wrap a bright color behind the bead and secure with four to five whip-finishes and some UV resin such as Solarez.

Andy Seitz has been trout fishing the mountain waters of SC for 40+ years and is a custom fly-rod builder from Central SC. His rods and flies are under the name CreekChicken Outfitters and can be found on Facebook and Instagram.
