By Joseph Albanese:
We’ve all got one… that corner that raises your significant other’s hackles every time they look over at it. Rods of all shapes and sizes clutter it up. There are fly rod tubes, casting rods, ultra-light spinners, even some 10-foot surf models you’ve accumulated over a lifetime of angling. What if I were to tell you that for about $20 and a Saturday afternoon you could have a way to end that clutter and proudly display your rods at the same time?
Of course you’ll need a few tools and just a little knowledge about woodworking. If you’re not a do-it-yourselfer, you’ve probably got a buddy who is. Set-aside a dismal winter Saturday and invite that buddy over for some beverages and quality time in the garage. You can knock out two rod holders at the same time to create domestic tranquility in both households.
All you need to create this rod holder is a drill, a 2 ½-inch hole saw, a circular saw and some spare lumber. You will need some flat stock for the top and bottom sections and some dimensional lumber for the uprights. You can use whatever you have lying around, or choose something to match your décor. Plywood, melamine, or common pine board all work well. The uprights can be ripped from the base material, or one by threes or the like can be substituted.
The first step is laying everything out. I used No. 2 pine board that was 11 inches wide by three-quarters of an inch thick. I cut the board into three 2-foot sections. I then scribed a line in the center of two of the boards lengthwise. I then made another two lines centered on either side of the meridian I just created. From there, I made lines every 3 inches in the other direction. Where the lines bisect is where you will be drilling.
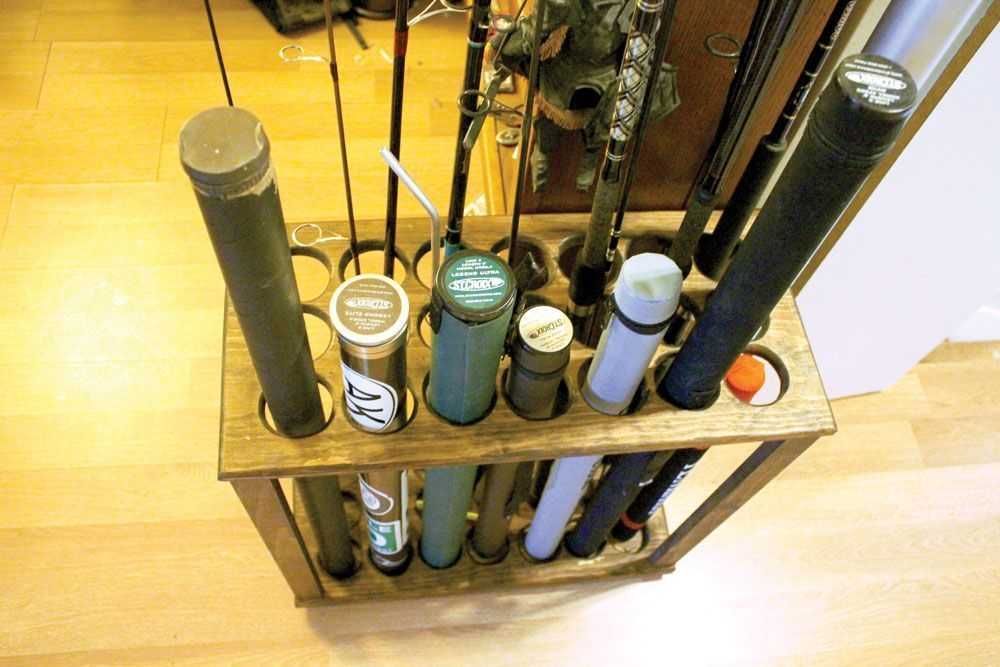
Take your hole saw and start to drill on the lines you created in the last step. If you use a piece of scrap wood as a backer, you can avoid “blowing out” the back of the cut. After all the holes are made, glue one side of one board and place it on the uncut piece left over from the beginning. Clamp the two together, or place some weight on top, until the glue dries. While that’s happening, cut the uprights. Two feet should be the ideal height for this. Screw these in at all four corners. You can also use the leftover pieces from the holes as risers to keep the board off the floor.
Depending on what materials you used, you can really create a furniture-grade piece using some stain and shellac. While conventional wisdom says you can’t stain soft wood, this couldn’t be further from the truth. You just need to pay careful attention to how the stain is being absorbed in different sections and add more to the areas that need to be darkened. Once that dries, hit it with a couple of coats of spray-on shellac to create a lasting finish. Now you can admire your new favorite piece of furniture and access your rods without having to weed through a nest of tangled line. Perhaps your significant other will even thank you.